
Man o’ man do I love this candy!

Those yellow and red wrappers were on of my irresistable go-to treats on those magical days when my mom or dad would take me to Dominguez grocery in Hargill (my hometown) and say those beautiful words that every kid lives for: Go pick out some candy!
The phrase still fills my heart with joy!
Childhood passes quickly, and it’s the small memories that end up meaning the most. I remember so clearly grabbing a handful of Coconut Long Boys, then placing them on the tall countertop so Mrs. Dominguez could ring them up and put them in a tiny brown paper bag that was just for me (and not my dumb sisters!) It was just about as good as it could get.
Sadly, Dominguez Grocery has long since gone out of business, and we lost Mrs. Dominguez a few years ago, but simple memories like this help keep me from roaming too far from home.
Crystal and I had tossed around the idea of a series of blog post where we recreate things we loved as a child. So, when this candy popped into my head not long ago, I became obsessed with finding a recipe for these sweet treats. And I was totally successful! (Thank you so much Athena Hessong!)
Here is a step-by-step tutorial on making them yourself! Do it! Who knows, maybe you’ll love them too?
 Gather these things! (full recipe at the bottom of the post)
1/2 cup heavy cream
1/2 cup sugar
1/4 cup light corn syrup
1/4 tsp. salt
1/4 tsp. vanilla extract
2 tbsp. butter
2 cup flaked, sweetened coconut
You’ll also need: 10″ square baking pan lined with wax paper, heavy saucepan, wooden spoon, candy thermometer, pastry brush, sharp knife, and additional wax paper or candy wrappers for wrapping, cut into 5-inch squares.
 Place the sugar, cream, corn syrup, and salt into the saucepan
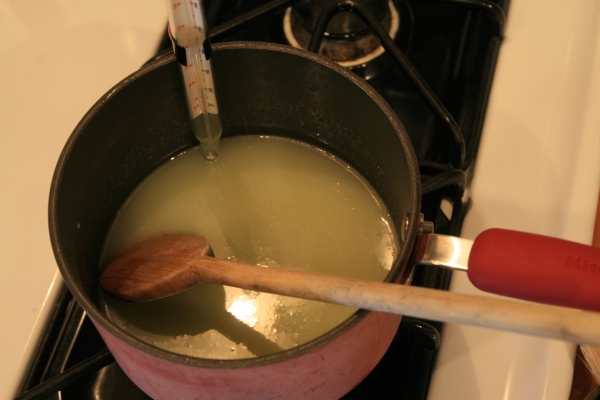 Heat the pan over medium heat, stirring to combine and dissolve the sugar. Use a wooden spoon (not metal) to stir so that the heat from the cooking caramel will not travel up the spoon and burn you.
Put 2 tbsp. butter into the mixture and bring the pot up to a boil over medium high heat.
Stop stirring as soon as you see the mixture boiling.

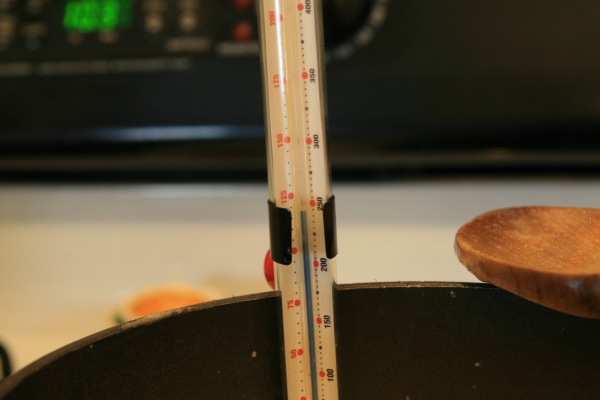 Wait for the caramel to reach 248 degrees or above on the candy thermometer. Getting so close!
 Remove the pan from the heat as soon as it reaches 248 degrees. Add the vanilla and flaked coconut and stir thoroughly to combine.
 Stir!
Stir!
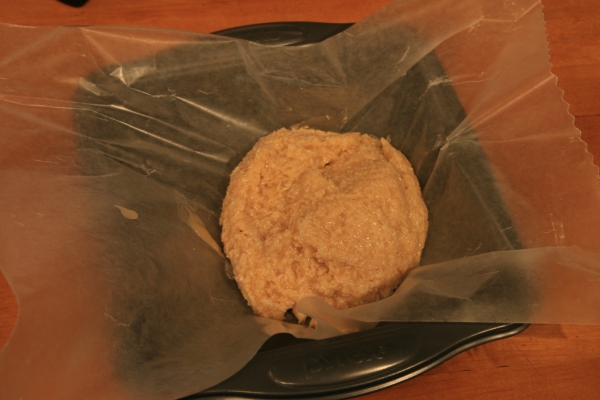 Full disclosure moment! The paper did not work. I spent more time trying to peel that paper off the back side of my candy! Next time I will omit the paper and just lightly spray the pan.
 I could totally get up in this with a spoon and never regret it.
 Spread out the mixture, and let it cool for 30 minutes on the counter, or 10 minutes in the refrigerator. Do not let it cool completely or the caramels will be too hard to roll.
 Cut the caramel in the pan into 1-inch-long strips.
 Remove a strip from the pan and roll it out into a rope about 1/4 to 1/2 inch in diameter. Use a knife to cut the rope into 3-inch sections. Repeat making the individual candies with the other caramel strips.


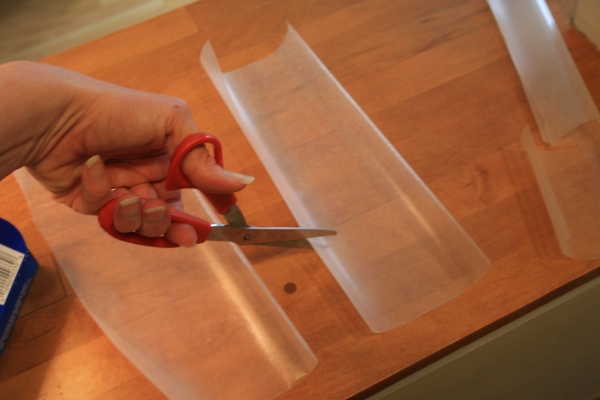 Cut the wax paper into 5-inch squares
 Wrap each coconut candy by rolling it up in the center of the paper and twisting the excess paper on either side to close.
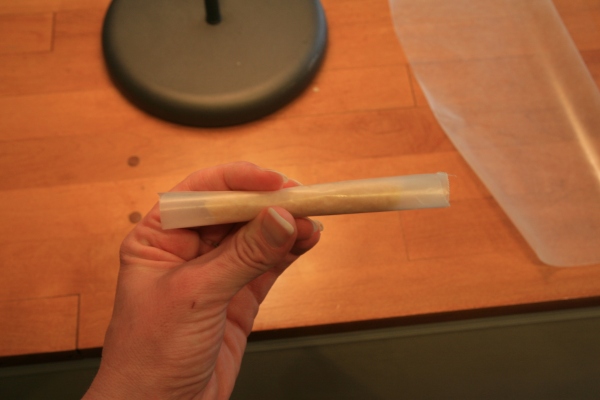
 Too cute!

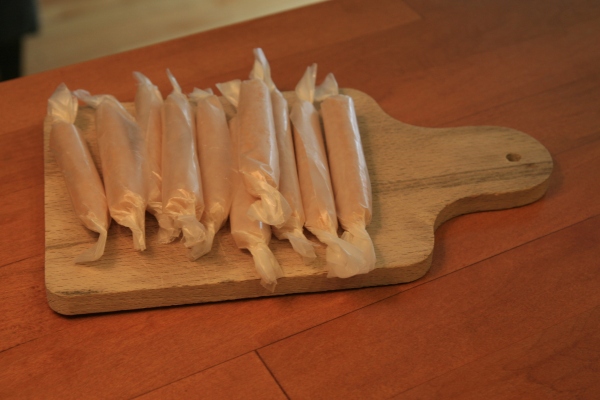

Coconut Long Boys! (original recipe courtesy of Athena Hessong)
Instructions
- 10″ square baking pan lined with wax paper
- Heavy saucepan
- Wooden spoon
- Candy thermometer (includes a clip on the side)
- Pastry brush
- 1/2 cup heavy cream
- 1/2 cup sugar
- 1/4 cup light corn syrup
- 1/4 tsp. salt
- 1/4 tsp. vanilla extract
- 2 tbsp. butter
- 2 cup flaked, sweetened coconut (you can also use unsweetened if available)
- Sharp knife
- Additional wax paper or candy wrappers for wrapping, cut into 5-inch squares
Place the sugar, cream, corn syrup and salt into the saucepan.
Heat the pan over medium heat, stirring to combine and dissolve the sugar. Use a wooden spoon (not metal) to stir so that the heat from the cooking caramel will not travel up the spoon and burn you.
Put 2 tbsp. butter into the mixture and bring the pot up to a boil over medium high heat.
Stop stirring as soon as you see the mixture boiling. Wait for the caramel to reach 248 degrees or above on the candy thermometer.
Remove the pan from the heat as soon as it reaches 248 degrees. Add the vanilla and flaked coconut and stir thoroughly to combine.
Pour the caramel into the pan, and let it cool for 30 minutes on the counter, or 10 minutes in the refrigerator. Do not let it cool completely or the caramels will be too hard to roll.
Cut the caramel in the pan into 1-inch-long strips.
Remove a strip from the pan and roll it out into a rope about 1/4 to 1/2 inch in diameter. Use a knife to cut the rope into 3-inch sections. Repeat making the individual candies with the other caramel strips.
Cut the wax paper into 5-inch squares and wrap each coconut candy by rolling it up in the center of the paper and twisting the excess paper on either side to close.
Clip the candy thermometer to the side of the saucepan so that the tip is inside the mixture at the bottom but not touching the sides or bottom of the saucepan.
Another option
After telling you all of that, I should let you know that Coconut Long Boys are still manufactured today by Atkinson Candy in Lufkin, Texas and can still be purchased HERE!
Probably should have told you that before, but I really want you to make them for yourself! 🙂
Have a great day!
 Mix the peanut butter, confectioners’ sugar, salt, and panko crumbs together in a large bowl.
 Cover with plastic wrap and chill in the fridge for a few hours or overnight.


